Building a Simple Home Search Page In WordPress
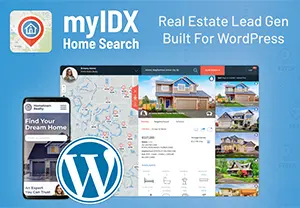
In a recent Youtube video, we took on the challenge of building a home search page for WordPress in under two minutes. You may never need to make a webpage under that kind of time frame, but every agent should have a home search on her website for generating buyer leads. Today, we’re going to show you how you can add an MLS home search to your WordPress site with minimal time and effort.
Jump to a Section
What is WordPress?
WordPress is a powerful technology used to create and manage websites. WordPress allows people with limited coding knowledge to create fully-featured websites through a system of themes and plugins. In fact, around one-third of all sites on the internet are built with WordPress.
For this tutorial, we’re assuming you have at least some knowledge of WordPress. You should have already set up the basic parts of your site such as the navigation menus, too. For today, we’ll just focus on creating the content on your landing page.
Installing My IDX Home Search Plugin
Our MLS home search will be powered by a plugin called My IDX Home Search. This plugin is available through WordPress directly, or it can be downloaded after purchasing a subscription to My IDX Home Search or IDX Home Search. We recommend installing directly through WordPress.
To install:
- Log in to your WordPress dashboard.
- In the sidebar menu (usually on the left side), hover over “Plugins.”
- A fly-out menu should appear. Click “Add New.”
- Next, search for My IDX Home Search.
- Once you find it in the search results, click the “Install” button
- Then click the “Activate” and you’re ready to get started.
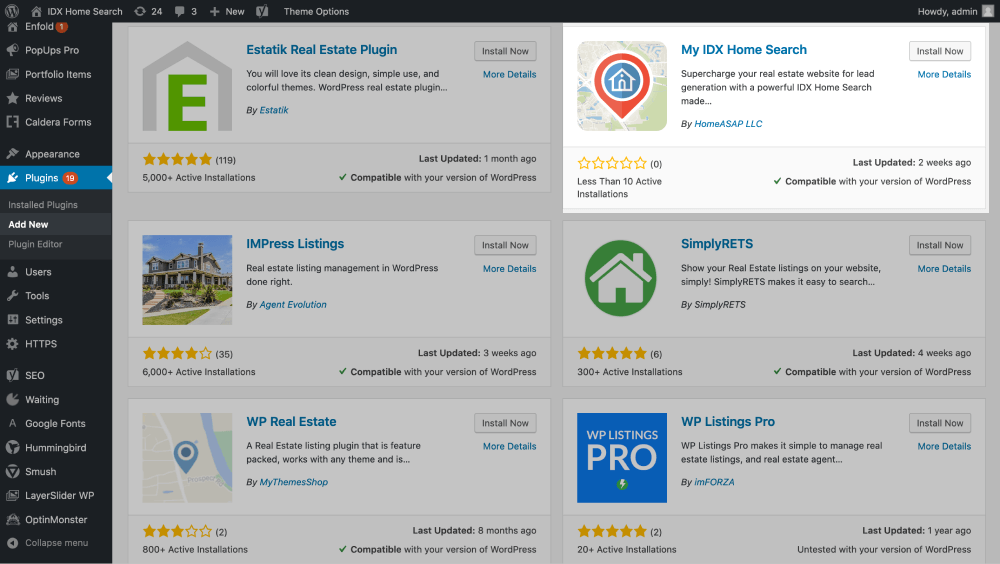
Manual installation works the same way except you’ll need to click “Upload Plugin” after step 3 instead of searching. Then you’ll upload the .zip file you received at purchase. Be sure that you do not unzip the file before uploading it.
Creating the MLS Search Page
Once you have installed the plugin, you’ll need to create generate a shortcode to place your search where you want it to go. The shortcode acts like a cue that tells the website’s server to add a pre-made piece of code in that spot on the page. My IDX Home Search builds this shortcode for you as you choose your settings.
To build your shortcode, hover over Settings in the sidebar menu and click on “My IDX Home Search.” This will bring you to the shortcode generator.
Set Up My IDX Home Search Subscription
Before proceeding, you’ll need to purchase a subscription to My IDX Home Search and complete the MLS approval process. Each MLS has slightly different processes, but usually, this involves getting some signatures from the broker and the agent if creating the site for someone else.
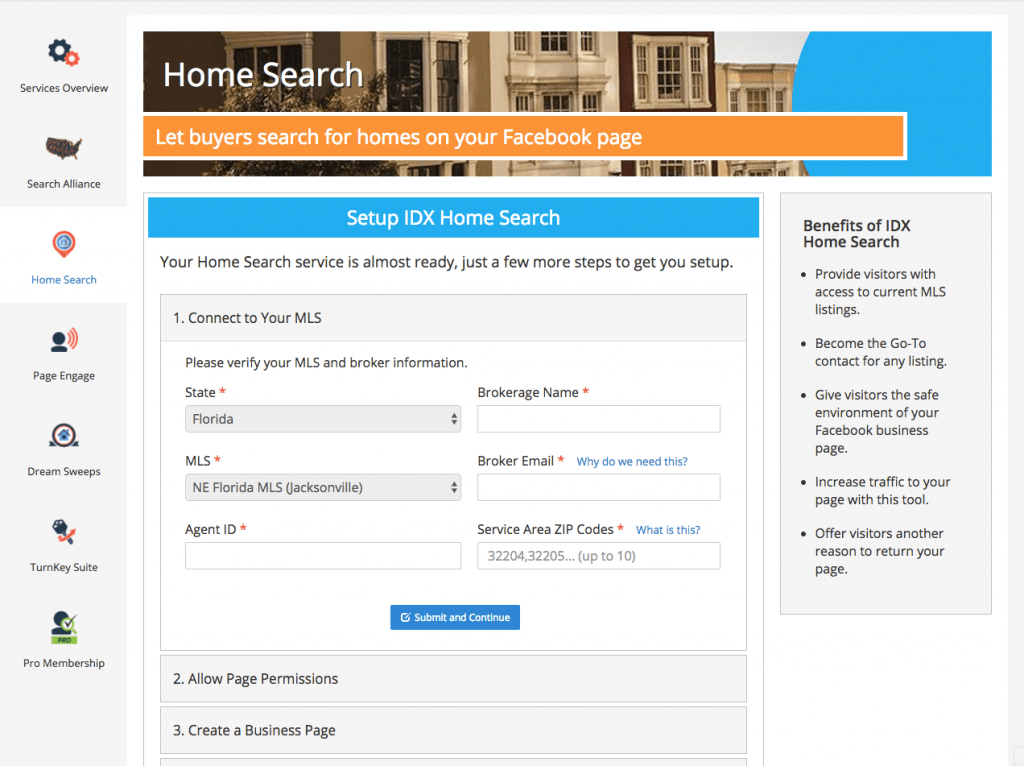
After purchasing, you’ll also have a guided brief guided setup that creates your account with the Real Estate Agent Directory if you have don’t have one already. To complete setup you will need to enter info about your MLS and brokerage. You’ll also need to connect the account to a Facebook business page in order to enable the Facebook integration features.
Generate My IDX Home Search Shortcode
Once finished with the subscription setup, you’re ready to create the shortcode. From the My IDX settings page, scroll down, and click on “Embed Landing Page.” A form should appear with the available settings. You can also choose to embed just the search box if you prefer a custom page design, but we’ll cover that in another tutorial.
Next, you’ll need to connect to the agent. Type their name or email address into the agent search field. An automatic list of available agents will appear along with a profile picture. Click on the agent’s name, and you’re ready to move to the next step. If the agent doesn’t appear, check for possible misspellings. It’s also possible that the subscription has not been fully set up and approved.
After choosing the agent, go to height. This can be set to a pixel value such as 600px or a percent like 100%. This will set the initial height of the landing page container. This step is not crucial since we’ll override this value in the next step.
Add Some CSS
Next, we’ll add some CSS properties to make the page span the entire screen. Simply copy the code snippet below and paste it in the CSS form field.
postion: fixed;
top: 0;
bottom: 0;
left: 0;
right: 0;
This page tells the landing page container to fill the entire screen. The directional properties tell how far from the edge each side will be. These can be tweaked if needed by entering a different value such as a 30px or 2% where the number is. Just be sure each line ends with a semi-colon.
Depending on your WordPress theme, sometimes the landing page can cover important elements like the page navigation. You change the stacking order of elements by adding the z-index property. This property accepts plain number values. Lower numbers move the element towards the back of the stack, and higher numbers bring it forward.
z-index: -1;
z-index: 5;
z-index: 999;
Copy and Paste Your Shortcode
Once you’re done setting the options, click the “Copy Shortcode” button, and go to the page where you want to add the home search. You’ll probably want to open a new tab in your browser in case you need to make tweaks to your original shortcode.
If you are creating a brand new page, you can hold down the command or control key and click Page in the sidebar menu. Then click the “Add New” button to create a new page. You’ll be brought to a page builder that may look different depending on what version of WordPress you’re using and what themes or plugins you have installed.
If using block editor found in newer versions of WordPress, simply add a shortcode block and paste. If using older versions of WordPress, just paste the shortcode in the classic editor. If using a theme with a custom editor such as Divi, you can usually paste shortcodes in a code or text module.
Check Out Your New Page
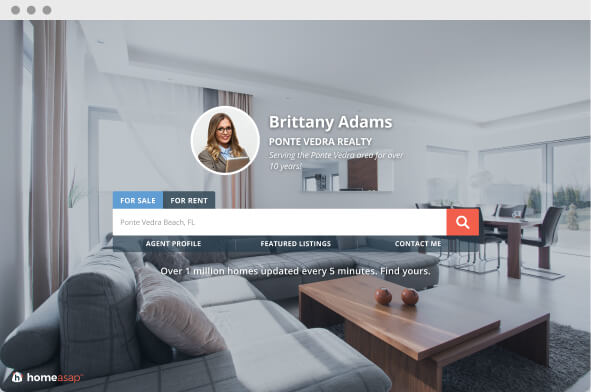
Last of all, it’s time to admire your great work! Click preview to double-check how your page will look when published. If needed you can make changes to your shortcode back on the settings page. Then recopy and replace the old shortcode with the new one.
When you have things the way you want them, click “Publish.” Of course, you’ll want to add links to your new page to the navigation menus and pages of your site, too. After all, no one will visit a page they can’t find. With that done, you’re ready to start generating new buyer leads!

Real Estate Agent Branding Workbook
In a crowded field, real estate agents need a strong brand to survive. In this Branding Workbook, we help you discover your personal brand and create a plan to start building it!
Popular Articles
House Flipping: Tips from the Experts
House flipping is a real estate investment strategy that has caught the attention of entrepreneurs and real estate enthusiasts. To succeed in house flipping, investors must find properties with hidden potential that they can transform through smart and strategic...

Virtual Home Tours on Social Media: Tips for Success
Property agents know that the key to a successful sale is often hosting an open house. Traditionally, open houses have been in-person events held at the property, and therefore subject to limited flexibility to cater to the busy combined schedules of owners, agents...
Creating Calls to Action for Real Estate
Picture this. You've finally got homebuyers' attention with an amazing Facebook post. They click the link to your Facebook business page. They're instantly impressed with the beautiful cover image and your professionalism, and yet nothing else happens. Your potential...

5 Ways To Leverage Property Data In Real Estate Marketing
Not so long ago, the bulk of decisions made within the real estate industry relied heavily on anecdotal information and gut feeling. Not surprisingly, some of these decisions didn't hit the mark and proved costly. These days, thanks to big data and advanced data...
Schedule a TurnKey Suite Demo
Speak with a specialist to see how you can benefit from the TurnKey Suite real estate marketing service for Facebook. Simply choose a date below to get started.


0 Comments